ROTOR FIX KIT

DON'T PANIC

This kit ingenious design is a multi-issue problem solver. It increases the safety performance of your drone and stabilizes the camera while in flight. By stabilizing your drone, you will be sure to have the clearest and highest quality images.

THE ROTOR KIT

The original and only kit that offers a complete solution to the issue that plagues a number of Inspire 2 drones. A complexly engineered product, yet simple to install. It is not aesthetically or mechanically intrusive, and does not void the warranty.

Peace of mind while in flight... Priceless

COMPONENTS

1x Rod Left    1x Rod Right
2x Collar S

2x Collar S

2x Collar B

2x Collar B

2x Clamp A

2x Clamp A

2x Clamp B

2x Clamp B

2x Hex key

2x Hex Key

4x Screws

4x Screws

1x Tightener

1x Tightener

4x Adhesive

4x Adhesive

TECH SPECS

94g

TOTAL WEIGHT
Ultralight

PA 12

MATERIAL
Super resistant

AL 6061

METAL
Air craft grade

FIX

SCREWS
Blued Steel 10.9 Screws

ASSEMBLY

Watch the video below for a quick tutorial on how to mount your Rotor Safe Kit.

The patent pending solution has been 100% designed and enginered by Atellani in Italy.
Parts are made in: Germany, Italy and China.

QUICKSTART GUIDE

PLEASE NOTE: THE MOUNTING PROCEDURES HAVE TO BE MADE IN LANDING MODE.
THE RIGHT AND THE LEFT ROD HAVE DIFFERENT MOUNTING PROCEDURES

9 EASY STEPS

Left ROD mounting instructions

Safety-kit-guide-1

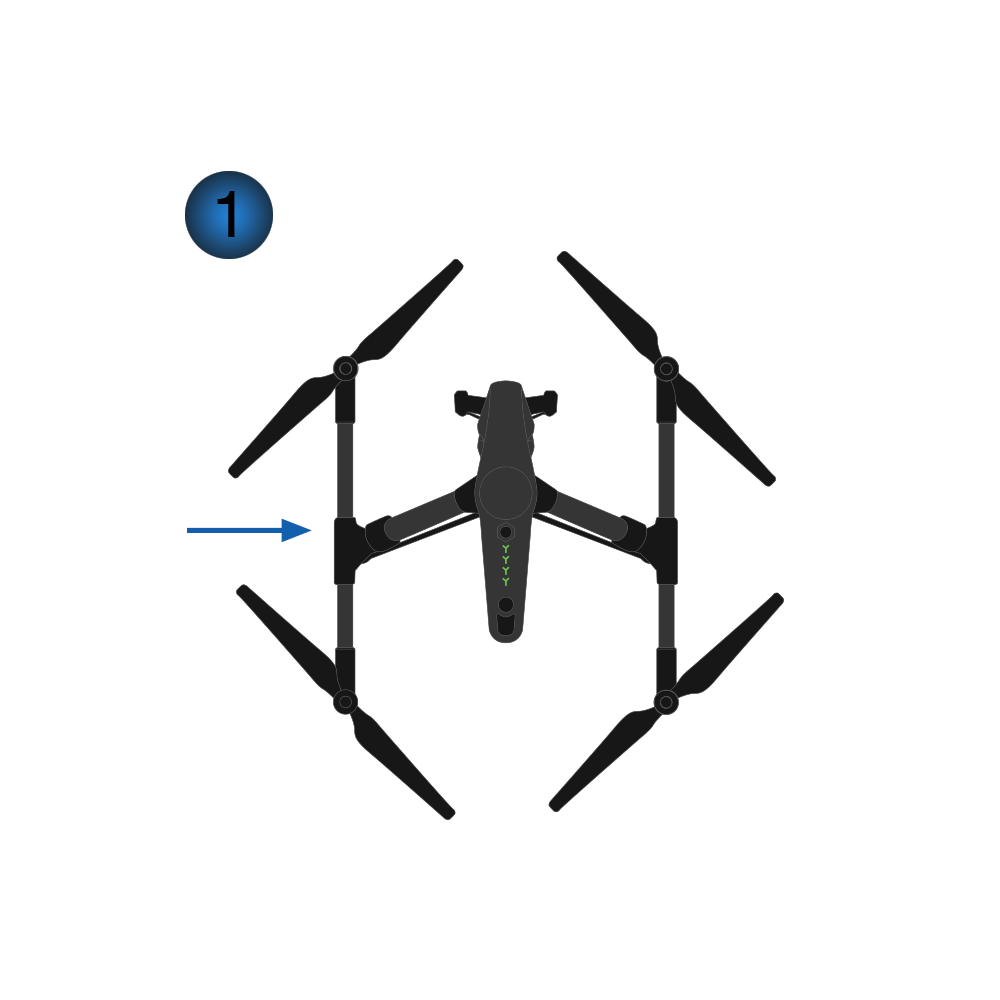
Start mounting the left kit, by facing the left side of the drone. The mounting procedures have to be made in landing mode.

Safety-kit-guide-2

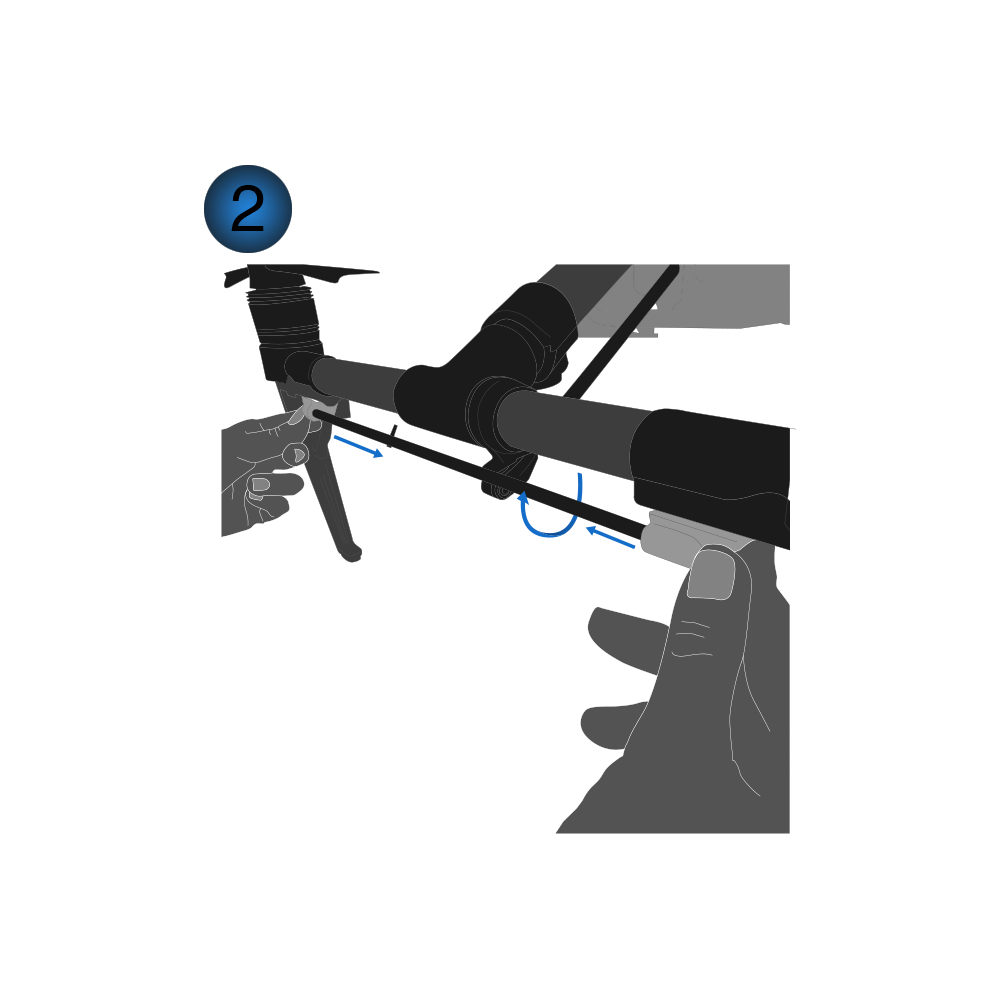
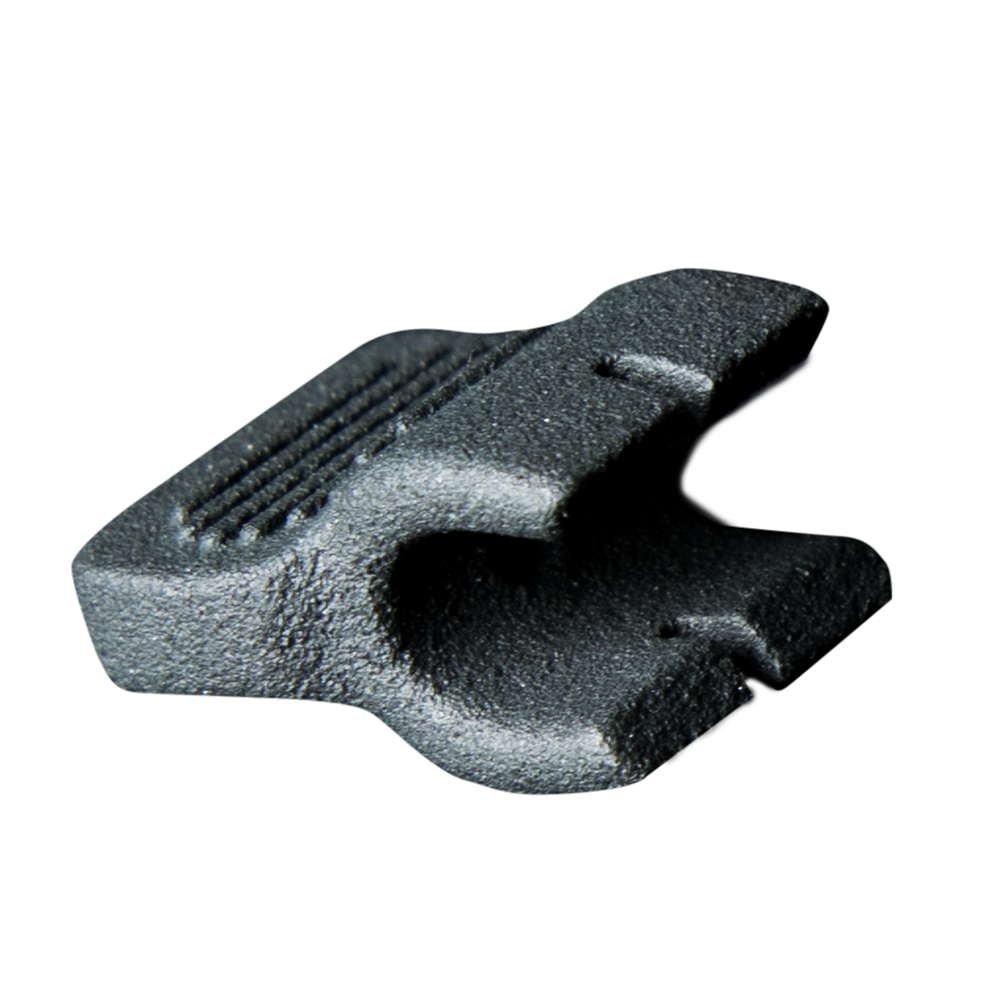
First place Clamp A around the landing gear and insert the Left Rod into the hole. Repeat the procedure on the other side placing Clamp B and screwing the Left Rod clockwise.

Safety-kit-guide-3

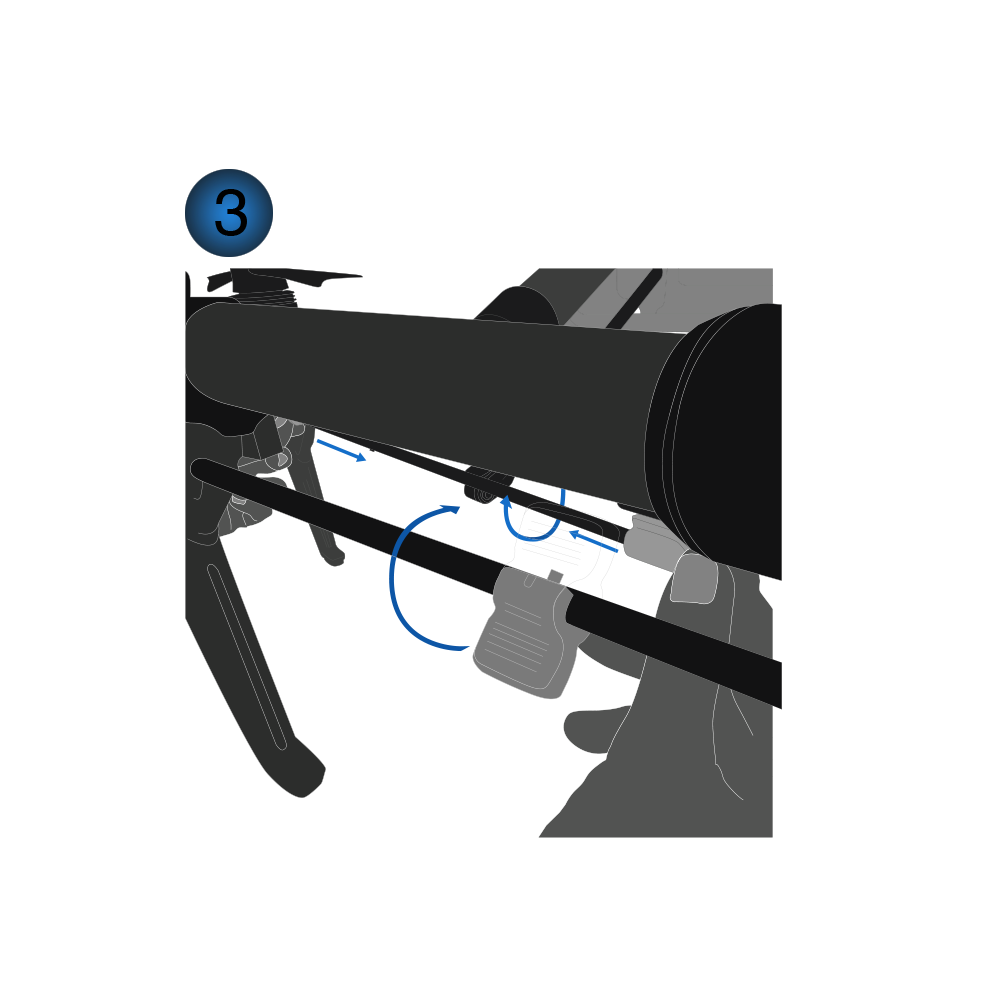
Use the Tightener to turn the Spring Pin clockwise until the Left Rod in completely firm and the Pin is in upright position.

Safety-kit-guide-4

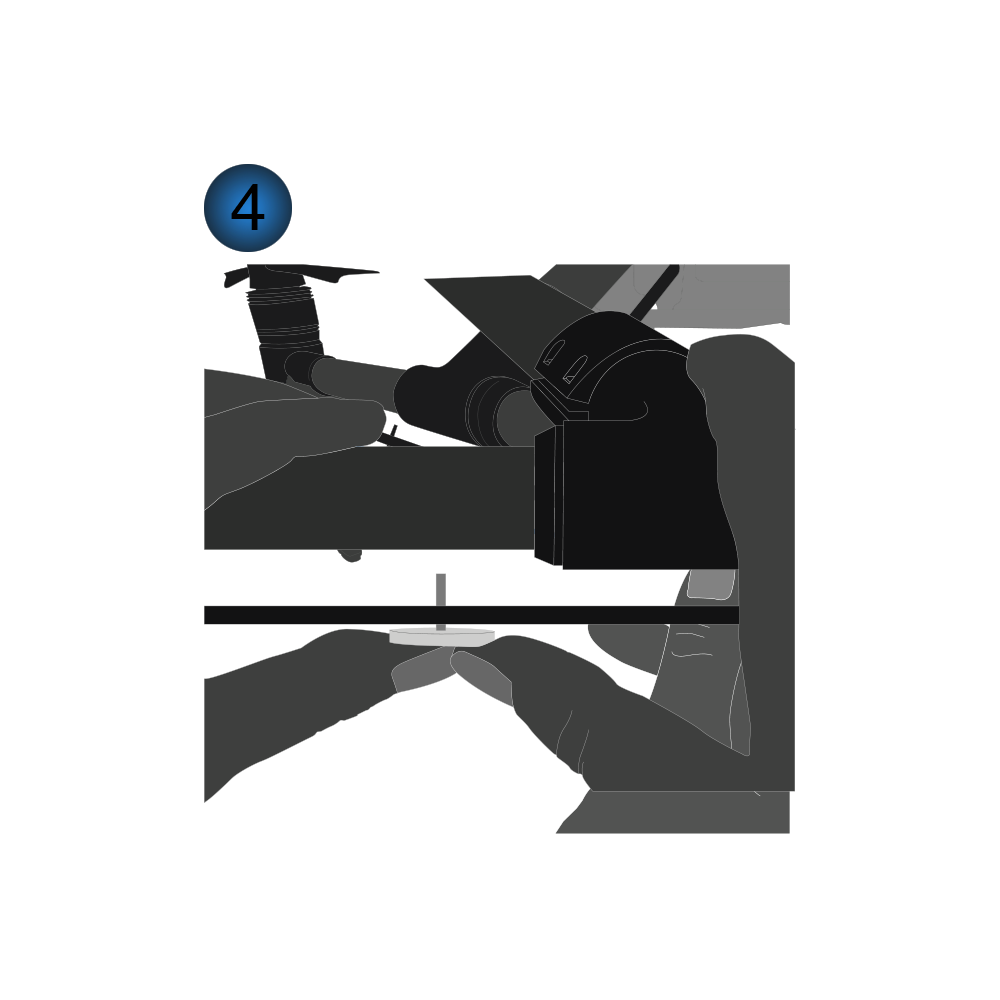
Use a coin or any other sturdy tool to push the Spring Pin up until it sticks out rom above the Rod only.

Safety-kit-guide-5

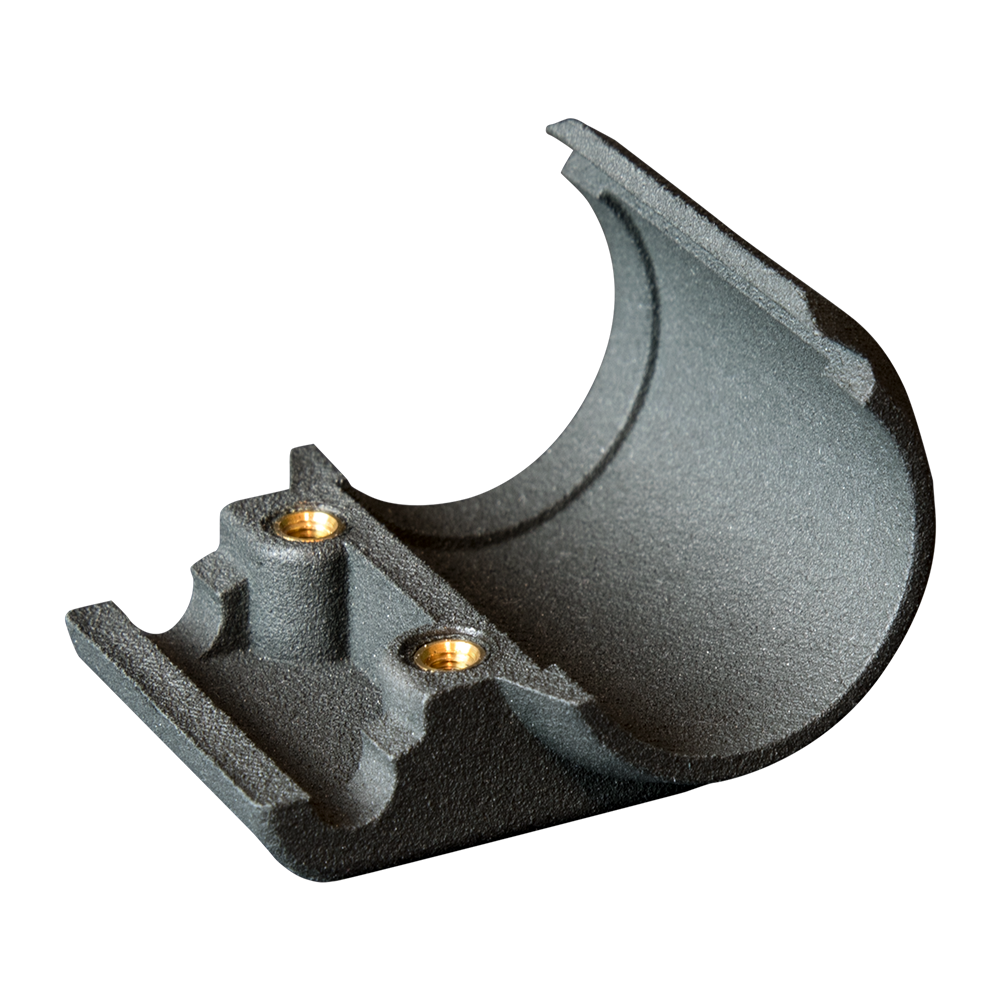
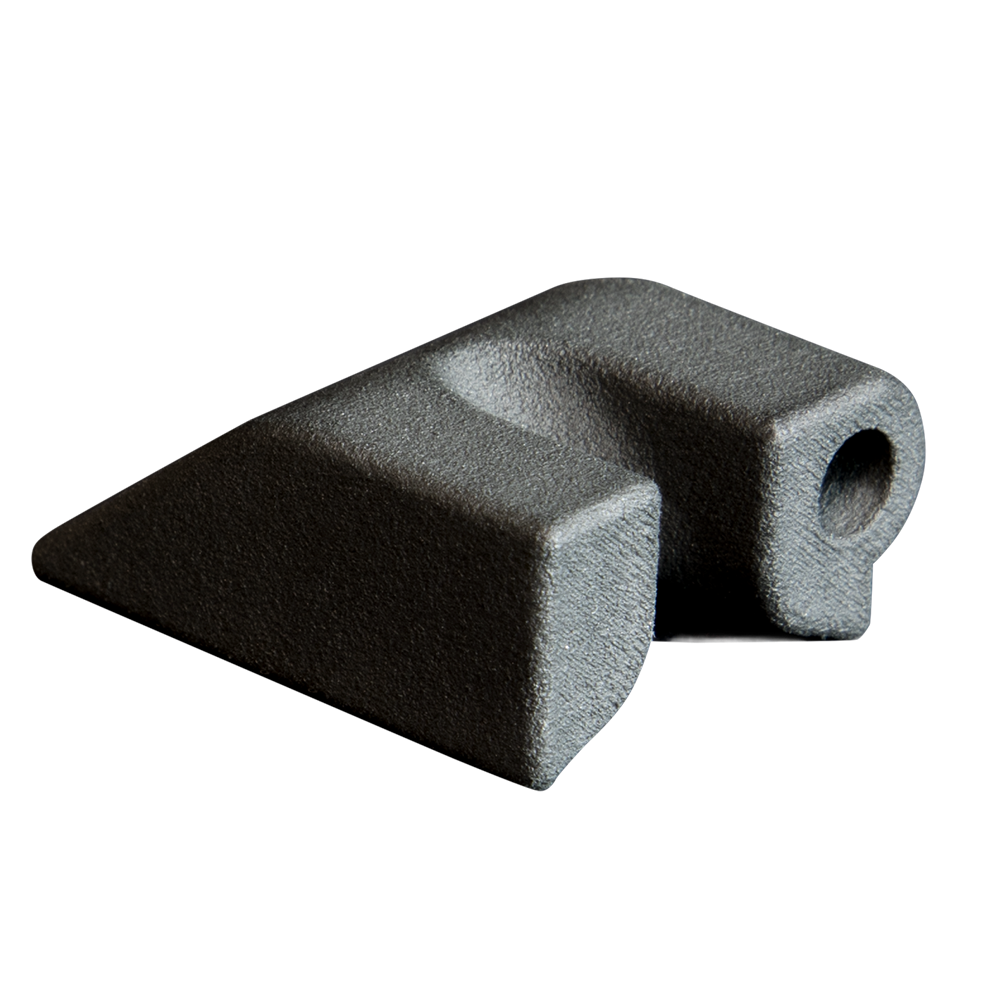
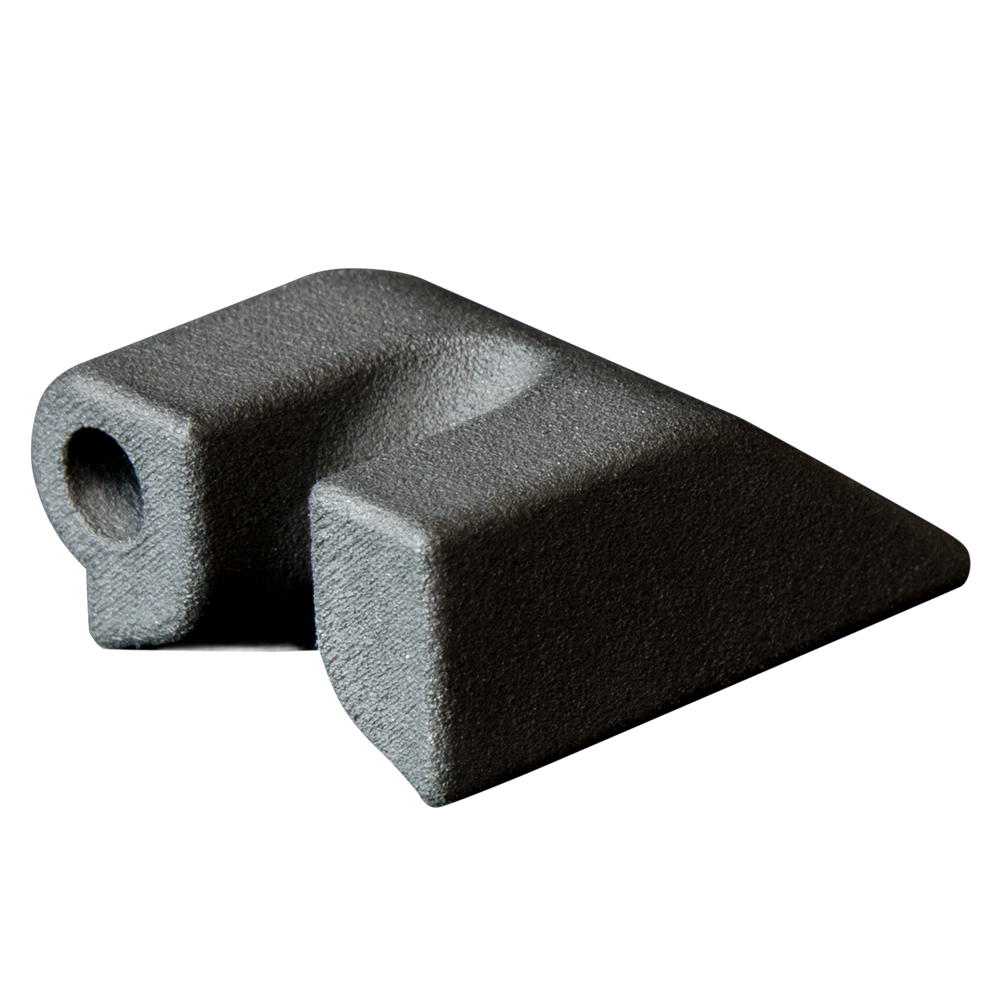
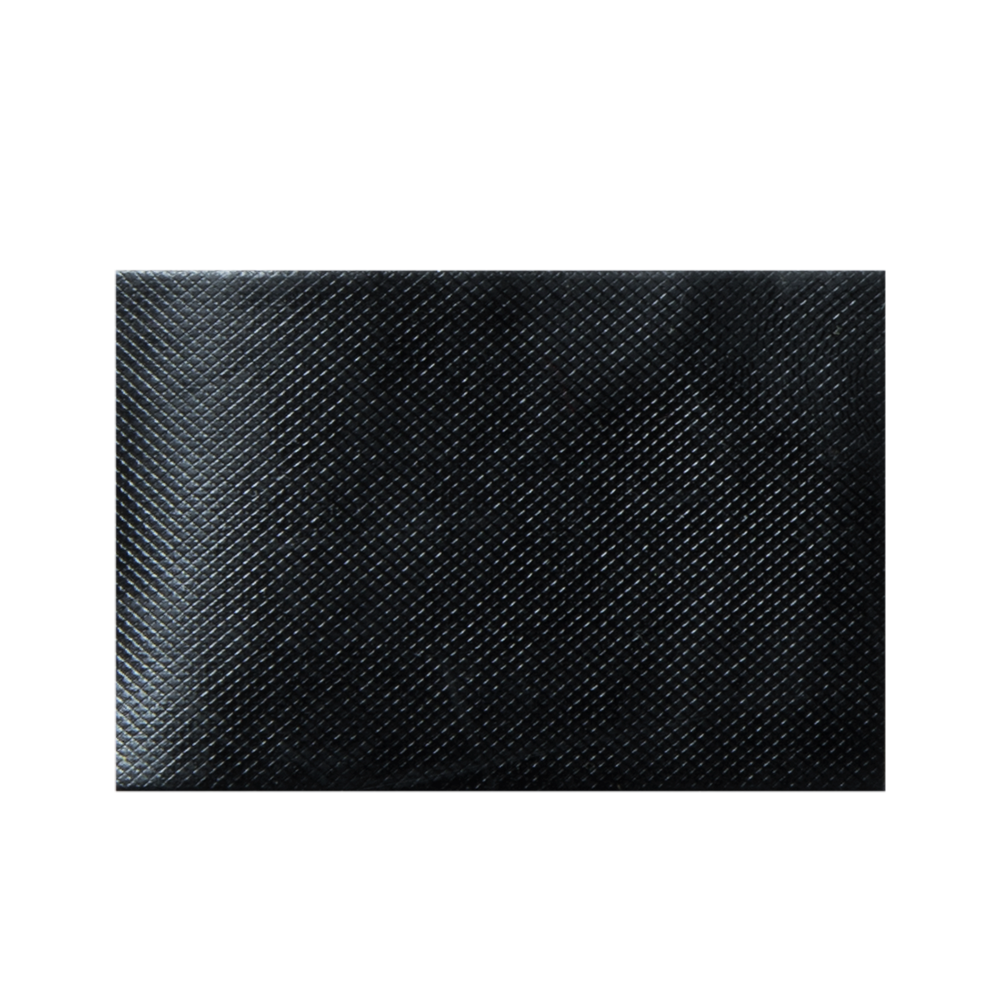
Place the adhesive strips on the inside of Collar B and Collar S.

Safety-kit-guide-6

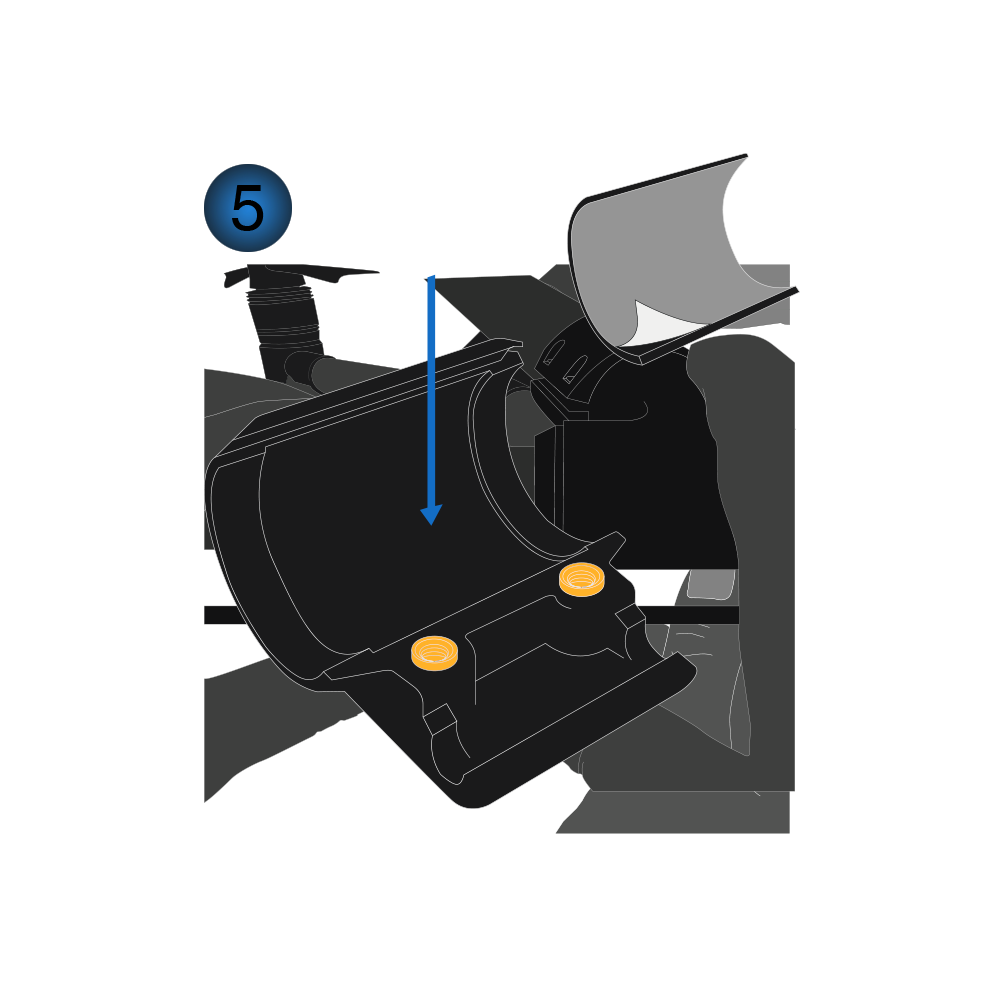
Place the Collar S behind the drone’s arm and the Left Rod. Make sure the Spring Pin is placed in the middle of the Collar.

Safety-kit-guide-7

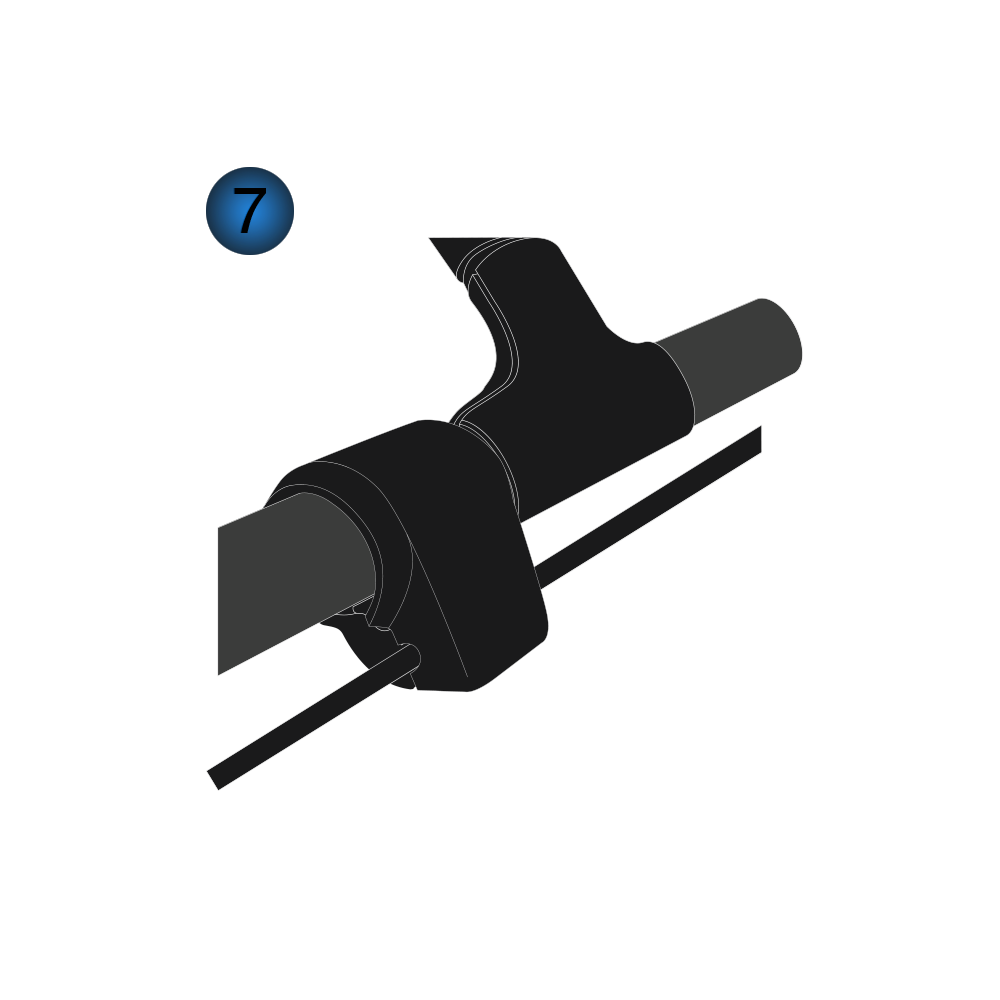
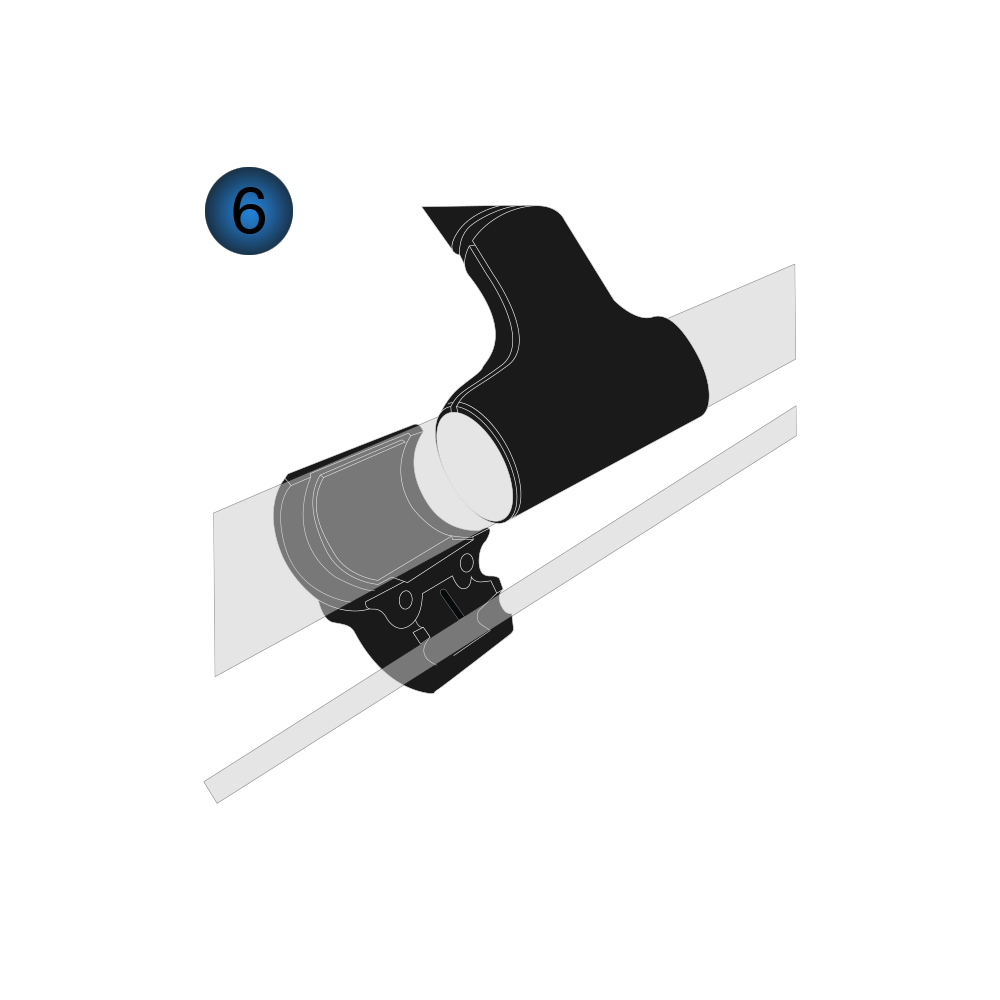
Align the upper parts of Collar B and Collar S. Snap them into place, ensuring all parts are completely secured and enclosed.

Safety-kit-guide-8

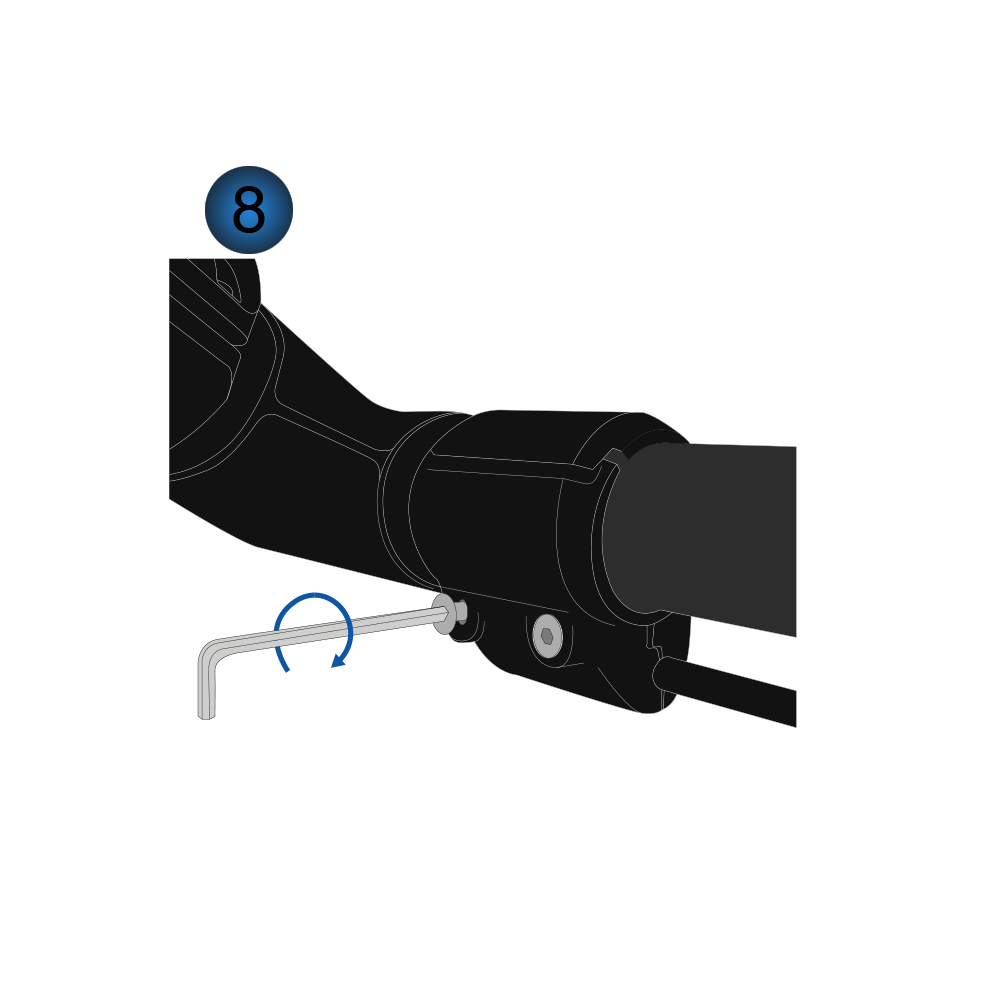
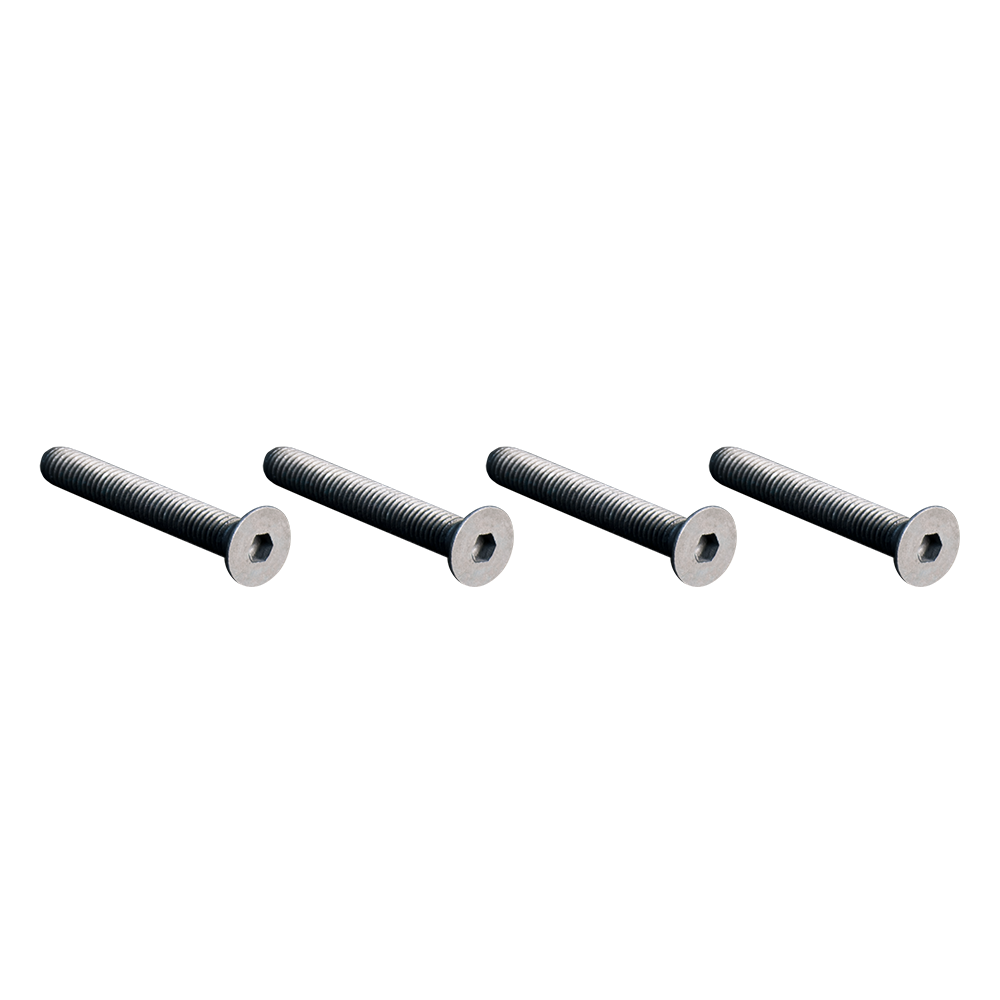
Tighten both screws with the Hex Key to secure the Collars. Be careful not to deform the plastic components.

Right ROD mounting instructions

Safety-kit-guide-9

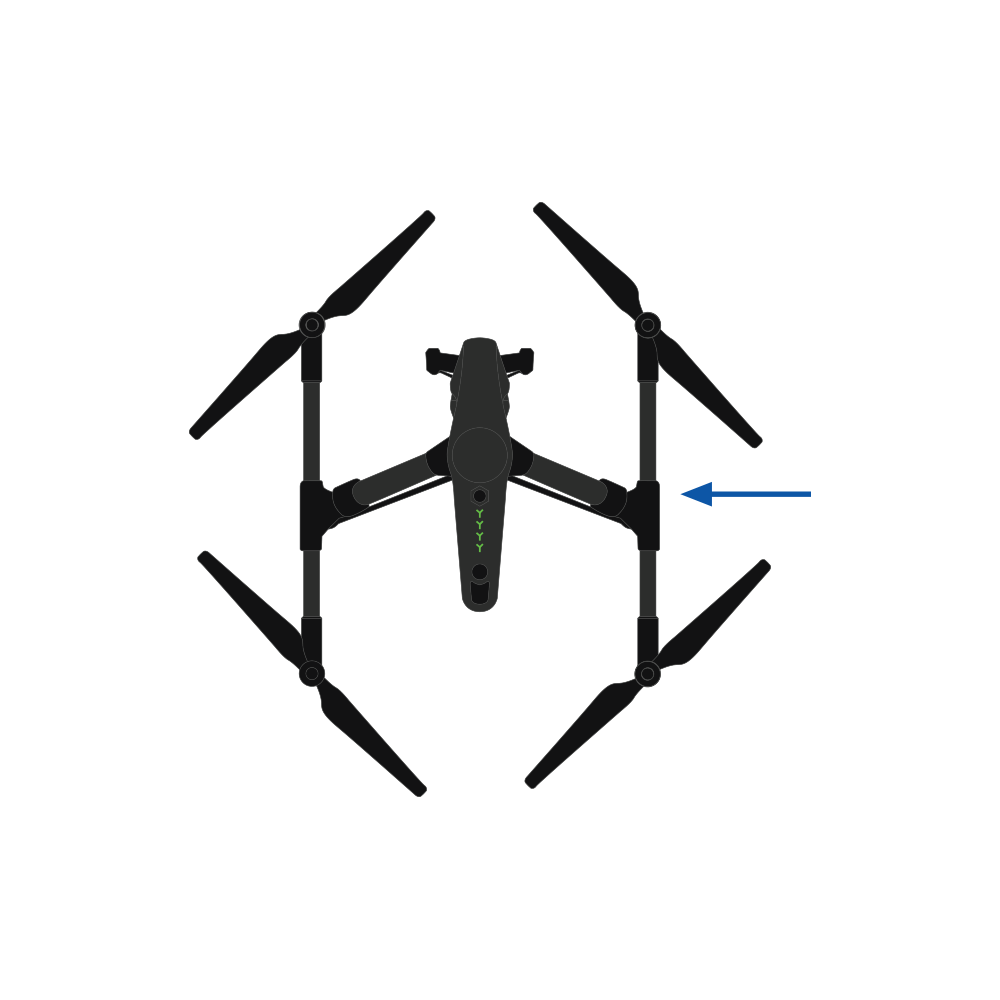
RIGHT ROD: Please note that the Right Rod follows the same procedure as the left, but the rod needs to be screwed counter clockwise.